Showing posts with label Vegan. Show all posts

Sunday, November 24, 2013

Spinach and White Bean Lasagna with Pumpkin Cashew Cream (Vegan, Soy and Gluten Free)


I made a glorious discovery this weekend with the creation of this equally glorious lasagna: cashew cream. It's something I've read about but put in the "I'm not treehugger enough box" along with turning off the shower when I shave my legs and making my own organic yogurt.  But cashew cream, as it turns out, is super easy!  Literally throw some cashews and a water in a blender and let 'er fly.  5 minutes later there's this wondrous, slightly sweet substance that acts suspiciously like flour, butter, and dairy-laden bechamel in this lasagna worthy of the Thanksgiving table.  

Wondrous stuff...it is actually creamy and slightly sweet
This is with the pumpkin added in as well..thick enough to stand up a spoon!
I love serving this at events where folks are low-FODMAP (just leave out the beans, garlic, and onions), vegan, gluten-free, soy-free, or all of the above. It's nice to actually be able to eat at a party or holiday event! Even if you have no dietary restrictions at all, this lasagna is the bomb and perfect for chilly weather. It also holds up extremely well wrapped up in the fridge, baked or unbaked, so you can make it ahead of time and save it for a busy weeknight.


Spinach and White Bean Lasagna with Pumpkin Cashew Cream 
(Vegan and Soy and Gluten Free)

For the Cashew Cream:

  • 3/4 cup raw, unsalted cashews
  • 1 1/2 cups water
  • 1/4 teaspoon nutmeg
  • 1/2 teaspoon salt
  • 1/4 teaspoon pepper
  • 2 cloves garlic, minced
  • 1 15-ounce can pumpkin puree
For the Spinach filling:
  • 1 tablespoon olive oil
  • 1/2 onion, chopped fine
  • 1 carrot, chopped fine
  • 2 cloves garlic, minced
  • 1/2 teaspoon salt
  • 1/4 teaspoon pepper
  • 1 10-ounce box frozen spinach (defrosted or not, won't matter because you'll cook it in the pan)
  • 1 can cannellini beans or other small white beans
For assembly:
  • 1 box gluten-free lasagna noodles (I ordered mine online; I haven't been able to find gluten free lasagna noodles in stores)
    • Note: if using gluten-free lasagna noodles, there is no need to cook the noodles ahead of time, they will soften fine in the oven. If using regular or whole wheat lasagna noodles, cook the whole box for 1-2 minutes less than the box says before assembling the lasagna.


1. Preheat the oven to 350 degrees.
2. Put cashews and water in food processor or blender.
3. Blend on high for 3-5 minutes, until smooth, thick, and creamy.
4. Scrape down the sides of the blender or food processor to blend well
5. Add the minced garlic, nutmeg, and black pepper and pulse to blend.
6. Add the pumpkin and process until fully blended.


7. Meanwhile,  heat the olive oil in a nonstick skillet until shimmering. Add the chopped onion and carrot and cook over medium-low heat until the onion is translucent.
8. Add the salt, pepper, and minced garlic and cook until the garlic is fragrant, about 30 seconds more.
9. Remove from heat. 


10. Spray a 2 quart casserole dish with nonstick cooking spray. Lay 3 lasagna noodles, slightly overlapping, in the bottom of the casserole dish. 
11. Cover the lasagna noodles with half of the spinach mixture.
12. Cover the spinach mixture with one-third of the pumpkin cashew cream mixture in an even layer.

I got a notion to add some dried sage at this point. So I did.
13. Add another layer of lasagna noodles, spinach mixture, and one-third of the pumpkin cashew cream sauce.
14. Add a final layer of lasagna noodles.
15. Cover the lasagna noodles completely with a layer of the pumpkin cashew cream sauce. You want to make sure the noodles are completely covered or they won't cook sufficiently in the oven.
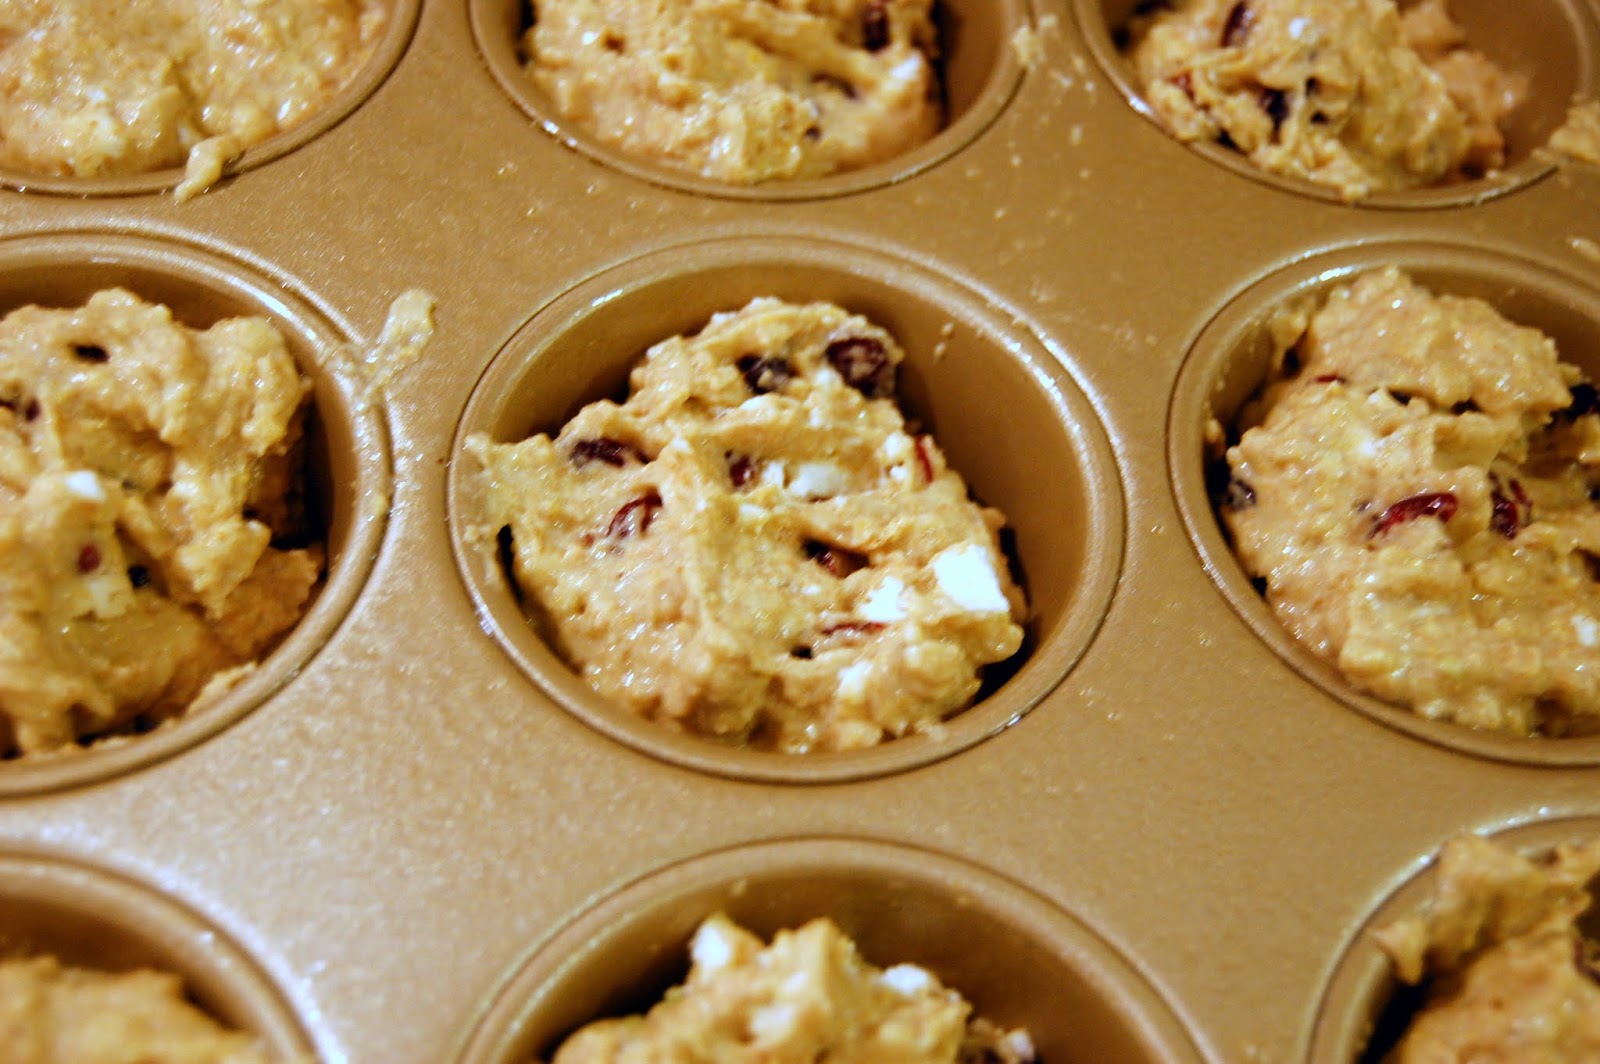
Ready for the oven!

16. Cover tightly with a double layer of aluminum foil (the steam produced by the rest of the lasagna in the oven is what cooks the lasagna noodles!)
17. Bake covered for 45-50 minutes, until piping hot and wonderfully fragrant.


That's a mighty good-lookin' lasagna.


Saturday, November 16, 2013

Vegan Peppermint Mocha for One

The next time I'm in an organized group activity and am asked *groan* what my superpower would be, I will finally have an answer: I wish I had powers to make lattes magically appear bedside without ever having to shower or find the car keys on what should be a lazy Saturday.

Enter this beauty I discovered at Whole Foods this morning (which, by the way, is on sale for $2.00 this week and there's a $1.00 coupon on the box, so this box of dairy-free deliciousness could be yours for $1!)


Once home I immediately used it to whip together a delicious cup of joe that scratches my Peppermint Mocha craving. I love a good Peppermint Mocha as much as the next gal, but my problem is often that they are so darn rich between the chocolate sauce and the peppermint syrup and the whipped cream, there's rarely a time of day where I can drink one and not feel like I need to take a nap despite multiple espresso shots.


This guy, on the other hand, I mixed just to my preferences, meaning it tastes strongly of coffee and is none too sweet.  The Chocolate Peppermint Stick is pretty sweet on its own so I actually cut it with some plain soymilk but if you like your coffee pretty sweet there's no need to do that. Most importantly, it comes together in the time it takes to make a cup of tea.

Vegan Peppermint Mocha for One

  • 1/2 cup Chocolate Peppermint Stick soymilk (I used West Soy brand)
  • 1 cup plain soymilk
  • 1 serving instant coffee (I used Starbucks VIA)
  1.  Combine the two soymilks in a microwaveable-safe mug. Heat until warm but not boiling; I used the "beverage reheat" function on my microwave. Otherwise I would have heated it about 90 seconds.
  2. Add the instant coffee and stir well to combine. I find a fork works better than a spoon here.
  3.  Enjoy!

Thursday, March 7, 2013

Whole Grain Corn Muffins with Goat Cheese and Cranberries

I debated whether or not to advertise this cornbread as vegan, because it totally is, except for the goat cheese. Story of my life.


Fun fact: did you know you can use a really ripe avocado instead of eggs or oil in your baked goods? Works wonders. Think about it: it's a little unctuous ball of butter and eggs all in one. I think the fat in the avocado is the reason they work much better than mashed bananas or applesauce as an egg replacer. You get fat and moisture without sweetness, giving you a lot of flexibility in your choice of baked goods. You want to use really, really ripe avocados when you do this, ones that are past the guacamole stage. The ones they sell two for a dollar in the produce clearance aisle? Those are perfect.


Honey? And avocado? That sounds weird. But hey, we're making vegan cornbread with avocado here (and goat cheese and cranberries) so we're putting weird on the back burner for the moment.

Savory.
Sweet.
Scoop.
Bake.
I used my immersion blender (definitely another favorite piece of kitchen equipment) to whip up the avocado, honey and soymilk right in the bowl. If you don't have an immersion blender, or your avocado isn't really, really ripe you might want to mash up your avocado in a separate bowl and then beat in your honey and soymilk.

Truth be told these vegan/not vegan corn muffins don't know exactly what they want to be. They are just as delicious for breakfast as they are with dinner (we ate them with sweet potato soup) or for an afternoon snack. Goat cheese and cranberries is really a no-brainer, it's got the sweet/salty, chewy/creamy contrast going on. Both are a lovely surprise studded throughout the cornbread, whose texture is decidedly un-vegan. I make cornbread at least weekly and I was surprised at how little I could tell a difference between this cornbread and my standard favorite recipe, which calls for 1/2 cup of butter and 2 eggs (totally not a Southern recipe, I've converted...).


It doesn't really matter what these muffins want to be; anything studded with chunks of melted goat cheese can't be anything other than delicious.

Whole Grain Corn Muffins with Goat Cheese and Cranberries

  • 1 cup yellow cornmeal
  • 1 cup whole-wheat flour
  • 1 teaspoon baking powder
  • 1 teaspoon baking soda
  • 1/2 teaspoon salt
  • 2 tablespoons honey
  • 1/2 ripe avocado
  • 1 3/4 cups soymilk
  • 1/2 cup crumbled goat cheese
  • 1/2 cup dried cranberries
  1. Preheat oven to 375 degrees. Grease a 12-cup muffin tin.
  2. Thoroughly combine your dry ingredients in a large mixing bowl.
  3. In a separate bowl, mash up your avocado and beat in the soymilk and honey, mixing well.
  4. Make a well in the center of the dry ingredients and stir the wet and dry together with a wooden spoon or mixing spoon until just combined. Gently stir in the goat cheese and cranberries.
  5. Scoop into prepared muffin tin and bake for 15 to 20 minutes, until muffins are well risen and lightly browned on top.

Wednesday, March 6, 2013

Homemade Crackers, or, Defining Adulthood


Did you know you can make your own crackers? I had no idea how easy it would be. Flour, olive oil, water, *boom* homemade crunchy little rounds of goodness.


Those little specks in there? Raw quinoa! I certainly would never have thought of that were it not for this wonder but they lend a pleasing additional source of crunch. These are a fun, comforting, and unfussy project for a rainy Sunday afternoon.

I made these in my stand mixer but all it really needs is a fork and a mixing bowl. Stir together dry ingredients, stir in olive oil and water, and roll out.  Do as I say, not as I do: the dough in the pictures below is rolled about twice as thick as I would like it next time (and there will be a next time: so many possible flavor combinations here).  The crackers themselves are delicious but a little shortbread-y rather than delightfully thin and crispy.


The other wonderful thing about these is that of course you can flavor them however you'd like. I used a teaspoon of an herbes de Provence spice blend that has been languishing in my cabinet and can only faintly taste the seasoning, I would start with 1 1/2 teaspoons dried herbs, etc. and go from there.  I also left these very lightly salted. If you want something more like commercial crackers I would add another 1/2 tsp. of salt to the dough and salt the tops of the crackers as well before going into the oven. 


On a completely unrelated note, I bought a pair of jeans last night. They were not from a thrift store. They cost more than a salad and sandwich combo at my favorite lunch spot. They cost about as much as dinner at a fancy restaurant if you get the salad and a glass of wine, too. I am not used to this. I feel like this more firmly marks my passage into adulthood than paying rent or car insurance or even owning a slow cooker.

Then the cracker that fell on the floor when I was turning my cookie sheets around caught on fire in the oven, unbeknownst to me until smoke started billowing from by back right burner. Making crackers is risky business, folks. The little charcoal disk caught on fire again when I was roasting vegetables for dinner, and that's when I realized: it's ok. I still have a ways to go.


Whole Wheat Crackers
Adapted from The Homemade Pantry by Alana Chernila

  • 1 cup flour, plus additional for dusting
  • 1 cup spelt flour or whole wheat flour (I used wheat)
  • 1/2 teaspoon baking powder
  • 1/3 cup whole, uncooked millet (I used quinoa)
  • 1/3 cup ground flax seeds
  • 1/2 teaspoon kosher salt, plus additional for sprinkling
  • Optional: 1 1/2 teaspoons any herbs or spices 
  • 1/2 cup plus 2 tablespoons olive oil
  • Freshly ground pepper

  1. Preheat the oven to 350. In a medium bowl, combine the dry ingredients. Add the olive oil and combine with a fork.  Slowly add 1/2 cup water. I used my stand mixer fitted with the dough hook for this process, Alana recommends working the water in with your hands until the dough holds together, up to 1/4 cup additional water if needed. Knead the dough with your hands for 2 minutes or the stand mixer for about a minute until it is smooth and very workable.
  2. Turn the dough out onto a floured surface, press into a flat disk, and roll out until the dough is 1/8 to 1/4 inch thick. Cut into desired shapes. I used cookie cutters and used a bench scraper to cut the remaining dough into squares; a pizza cutter would also work nicely and a biscuit cutter would make lovely rounds.
  3. With a spatula, transfer the dough to ungreased baking sheets and sprinkle with salt and pepper, if desired. Bake for 20 to 22 minutes, rotating the crackers halfway through. Be careful not to drop your crackers on the floor, oven or kitchen, at this point. Transfer to a wire rack to cool.
Enjoy with cheddar cheese and your favorite mug of soup. 

Wednesday, September 19, 2012

Grocery Shopping Eve Meal: Vegetable Rogan Josh

I wish I had a picture of the fridge in our house growing up to show you. My dad is a very structured man, Lord love him, and our fridge had a shelf for leftovers, a door on the fridge designated for jelly, a designated place for the eggs, lettuce, bacon, etc. to go and on and on. It was a wonderful system and one that virtually eliminates food waste; however, I have yet to meet another person or family that successfully employs a similar system. The rest of our relatively small galley kitchen in my parents' house is beautifully organized as well, even the ubiquitous Tupperware cabinet displaying Tupperware neatly stacked back to front from smallest to largest and no toppling to fear when you open the cabinet door. I'll have to take pictures when I go home for Thanksgiving.

I am firmly in the other 99% of society, however, which opens the fridge with one hand and thrusts a newly filled Tupperware on that second shelf on the left that seems a convenient landing place for everything.

Full disclosure: I just got up and took a picture of my fridge. Semi-organized--Pickles are a vegetable, right?

 I am also in that 99% of folks that find themselves with 3 stalks of celery and a quarter of a squash at the end of the week and I'll be darned if I'm going to throw away any food, at least not without giving a valiant effort. I view expiration dates as a trick of the food industry to trick us into throwing away our food and get more money out of us at the grocery store. Not really, but I do pay very little attention to expiration dates and instead tend to wait until there's mold somewhere to admit that any particular food item cannot, in fact, be eaten. Marriage has been good for me in that sense; my husband does not share my iron stomach and views expiration dates as fact, which has caused some bouts of secretiveness thus far. Vegetables, however, bear no expiration date, and that is how I arrived at my Saturday night dinner: Veggie Rogan Josh, or sauteed veggies with bottled Rogan Josh sauce stirred in for flavor. This is what happens when you are starving at 9 pm the day before you go grocery shopping.


I'm generally a bit of a whiz when it comes to making something out of nothing from the random bits of leftovers in the fridge. That night, though, I was merely determined to not let the bits of veggies I'd been accumulating rot in the fridge and I have a hard time thinking straight when I'm really hungry so I can pretty much forget being brilliantly creative.


This is the most appetizing picture I have of Saturday night's dinner, cooked at 9 pm with a glass of wine as an appetizer. That would be one leek, cleaned and chopped in the pan, half a cabbage, half a bag of (expired) shredded carrots, and one quarter of a red pepper. After a little more fishing in the fridge I pulled out a container whose top had an interesting bulge going on, indicating some carbon dioxide action or something going on in there. I really have no idea why I'm being so honest. I poured off the broth, which seemed to be where the fermentation was occuring, rinsed the chickpeas and tried one. It had a little bit of tang to it, just a hint, and I figured there must be some traditional dish out there in which fermented chickpeas play a role, so in they went.


The finished product was much greater than the sum of its parts and oddly satisfying, although they say hunger is the best condiment.

That would be a dollop of sweet chutney on top and a little tangy Greek yogurt hiding underneath. Sweet+Spicy+Tangy=Deliciousness. Side note: if you're interested in making this, that particular sauce I bought is quite spicy in a slow lovely after burn kind of way but I love it.  Word of warning to the spice averse.

The next day I was not quite as hungry and a little more creative so I seared some tofu in a cast iron skillet, cooked up some brown rice, and stirred all that together with the leftover vegetable mix and a little more sauce. Now that was delicious.

Now my morbid curiosity begs the question: do you organize your fridge or shove everything in there willy-nilly? What is your standby grocery shopping eve dinner?


Grocery Shopping Eve Vegetable Rogan Josh


  • Lots of veggies, in my case: 1/2 a cabbage, coarsely chopped; 1 leek, trimmed and chopped, 1/2 bag of shredded carrots, 1/2 bell pepper. Potatoes or sweet potatoes would have been a welcome starchy complement in this mix (if you use potatoes I would parcook them in the microwave for a couple of minutes because they take so much longer to cook in the skillet than the rest of the vegetables).
  • Indian Simmer Sauce: I used Spicy Tomato and Ginger or Kashmiri Rogan Josh, but any of the prepared Indian sauces would do nicely, especially with some rice.
  • A protein: I added chickpeas because that's what I had but the next day it was delicious with some seared tofu. This mix would also go nicely with chicken or of course lamb, but if you have lamb in your Saturday night leftovers repertoire I'm jealous.
  1. Heat 1-2 teaspoons of oil in a large skillet over medium heat. Saute your veggies (in the particular mix I used the cabbage takes the longest to cook so I put that in first and let it wilt a bit. If I had used onions those would have gone in first). I added mine to the skillet in the order listed.
  2. Let your veggies cook to your desired doneness. I wanted my cabbage with a bit of chew since the rest of the dish was fairly insubstantial so I cut it in large chunks and let it cook until just tender.
  3. Add your sauce and heat until heated through.
  4. Serve over rice or with naan if you have it, or wine and your Hulu show of choice if you don't. 


Monday, September 3, 2012

Multigrain Chocolate Stout Banana Bread

Chocolate Stout Banana Bread

Simplicity is not my strong point, at least when it comes to food. In life I am perfectly content to wear the same long waisted t-shirt and comfy flats high school through college, no problem. When it comes to my eating habits, however, I am infamous for 1) eating every meal out of a bowl 2) putting more ingredients than really necessary in said bowls. For instance, my morning oatmeal bowl often consists of oatmeal (3 parts steel cut to 1 part old-fashioned--try it, the texture is unlike any other) topped with sliced banana, nuts or peanut butter, yogurt, and granola. If you do 1/2 servings of each component you end up with one well-rounded bowl of lovely texture and temperature contrasts, the key to memorable dishes.

Which brings us to today's creation. It all started with a bottle of opened stout in the fridge. I opened it the other night for dessert and apparently misread my cravings because it was too heavy for me that late at night. I think I had a glass of wine instead. I'm all about freedom of choice. But back to the beer--flat, opened beer in the fridge screams "beer bread" to me. Did y'all make beer bread in college? We made a lot of it. Want to know why? Here's the recipe, pay attention now: measure 3 cups of self rising flour and 1/2 cup of sugar into a bowl (or directly into a greased baking pan, if you really want to go dorm-style). Stir in 1 12-ounce bottle or can of beer. Bake at 350 for 1 hour. Really, that's it. Sometime we would get creative and do garlic parmesan or cinnamon sugar toppings, but in general that's it. It has a texture like the middle of a good biscuits-and-gravy biscuit: dense and bready, perfect for slathering with butter and honey. Bringing back memories.

So today's beer bread started with that basic premise. The chocolate stout in the title refers not to "chocolate stout" as in Young's Double Chocolate or similar, but rather to chocolate, as in a fantastic high-fat natural cocoa powder I got from Penzey's this weekend, and stout, the beer on the same end of the spectrum as porters. Chocolate stout beer bread? I could tell this bread was headed somewhere delicious. There was also quite an old banana sitting in the fridge that I'd been meaning to mush up in a bowl of oatmeal for a few mornings now. I realize not everyone is a fan of the banana + chocolate combination, but I certainly am and a banana always adds some welcome moisture if you're a fan of the flavor. Oatmeal! That's a good idea too.  Then a hint of cinnamon for a welcome backbone of warmth and a star is born.


I truly wish you were here to share this with me. This honestly turned out so much better than I thought it would, the darkness of the stout and coffee brought out wonderfully by the cocoa and the cinnamon. It made for a deeply satisfying snack with a little fig-orange-ginger jam on top and a mug of coffee on the side. I told you simplicity is not my strong point. Oh and also? This loaf just happens to be vegan. Snuck that one in on you, huh? That's right, no eggs, milk, or butter to be found, just good ol' beer, coffee and chocolate. If you like barely sweet and highly flavorful baked goods, this loaf's for you. 

Multigrain Chocolate Stout Banana Bread

Preheat your oven to 350 degrees and grease a 9x5 inch loaf pan.

1.  Measure out 1 cup any stout beer (such as Guinness) and 1/2 cup strong black coffee into a measuring cup.  Add 1/2 cup old-fashioned rolled oats and let stand at room temperature while you prepare the rest of the ingredients.
Oatmeal Stout Banana


2. Measure 2 cups whole wheat pastry flour (you could certainly use all-purpose; whole wheat behaves much the same way most of the time, it would work fine in this recipe), 1/2 cup whole wheat flour, 1/3 cup natural cocoa, 1/4 cup cocoa, 1 tablespoon baking soda, 1 tsp. salt and 1 tsp. cinnamon into a medium mixing bowl and mix well with a fork or wire whisk to combine.

Flour cocoa baking powder salt sugar

3. In a separate bowl, mash one ripe banana using a fork or pastry blender. Whisk in 3 tablespoons vegetable oil.

4. Add the measuring cup of beer + coffee + oatmeal to the banana and stir to combine. Add the wet ingredients to the dry ingredients and stir just to combine.
5. Pour your batter into the prepared loaf pan. Bake at 350 degrees for 45-60 minutes, until a toothpick inserted in the very center comes out with one or two moist crumbs attached. This is a very dense bread and so will not be actually wet and batter-like in the center. If you're baking in a metal baking dish, the bread will probably take closer to 45 minutes and if you are baking in a glass Pyrex dish or similar it will probably take closer to 60 minutes.

6. Turn out onto a wire rack to cool for at least 15 minutes (slicing into it hot will ultimately dry out the loaf!). Slather with your condiment of choice and enjoy with an afternoon cup of coffee. Or, of course, another beer.